Every image here was produced by the ray-tracing code developed in the
Spacetime Simulations chapters: light is traced backwards from a camera through curved spacetime
to find which part of the sky it came from. Click through to see how each one was made, or
make your own black hole image.
Black holes
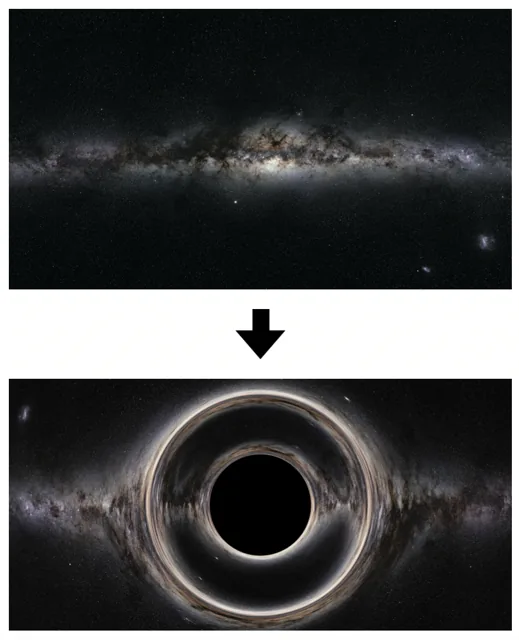
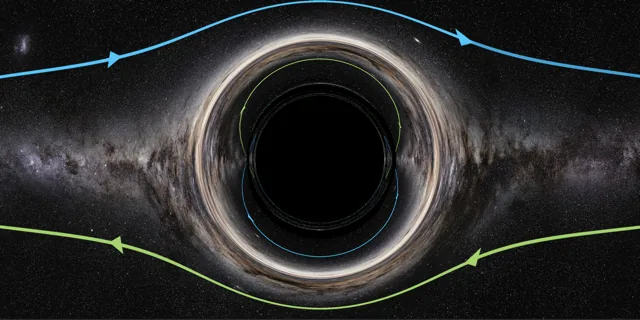
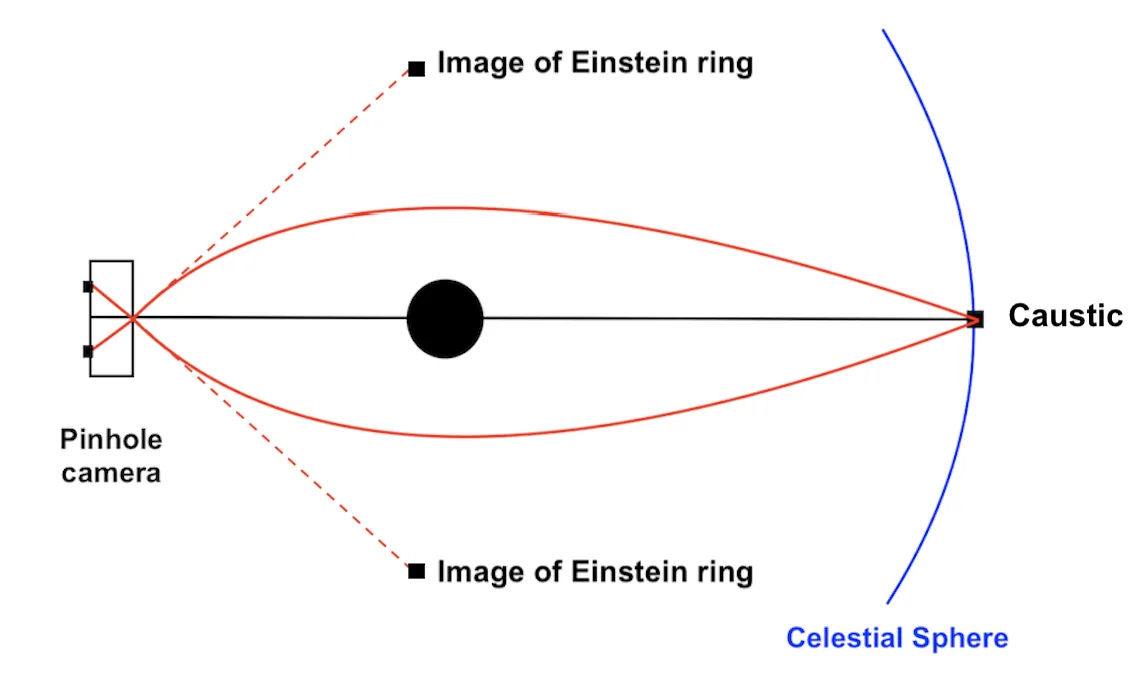
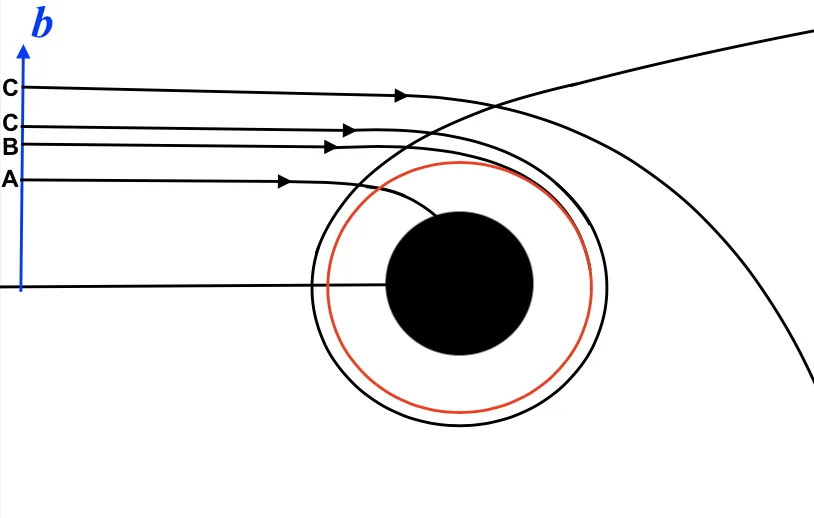
The Milky Way before (top) and after (bottom) placing a black hole in front of it. Made with the black hole simulator.A Schwarzschild black hole (M = 2.5) lensing the Milky Way: the Einstein ring, the shadow and fainter inner images. Chapter 4.Why an Einstein ring forms: light from directly behind the black hole bends around every side equally. Chapter 4.Photon paths at different heights: those inside the critical height are captured, those outside are deflected. Chapter 4.
Wormholes
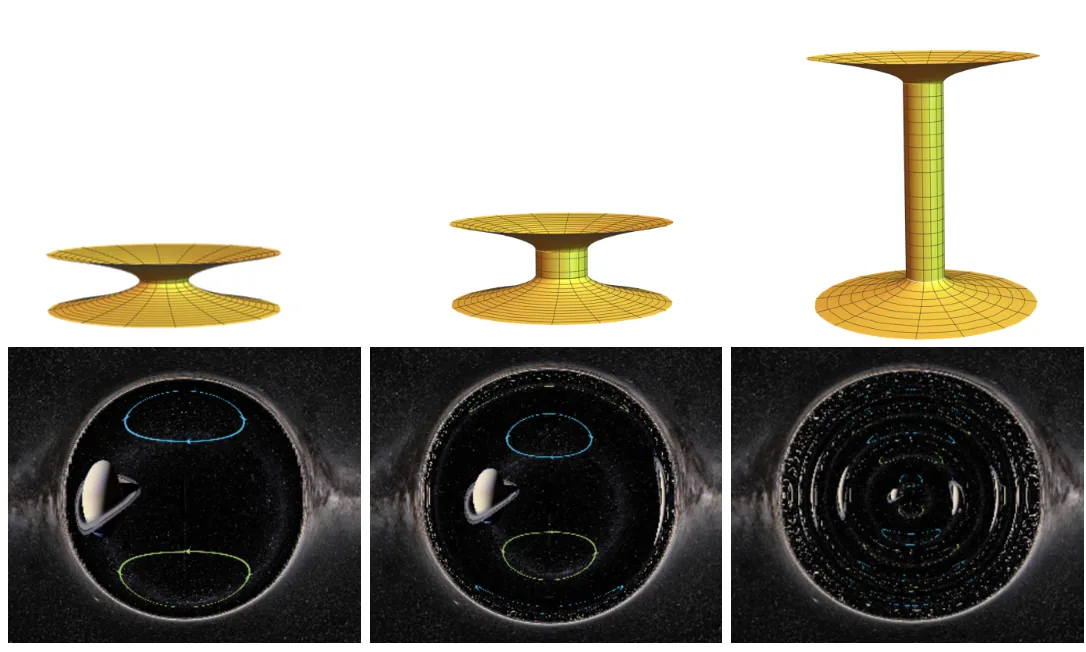
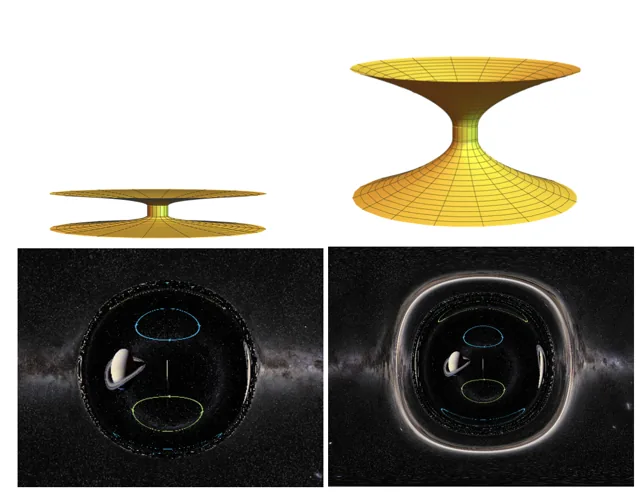
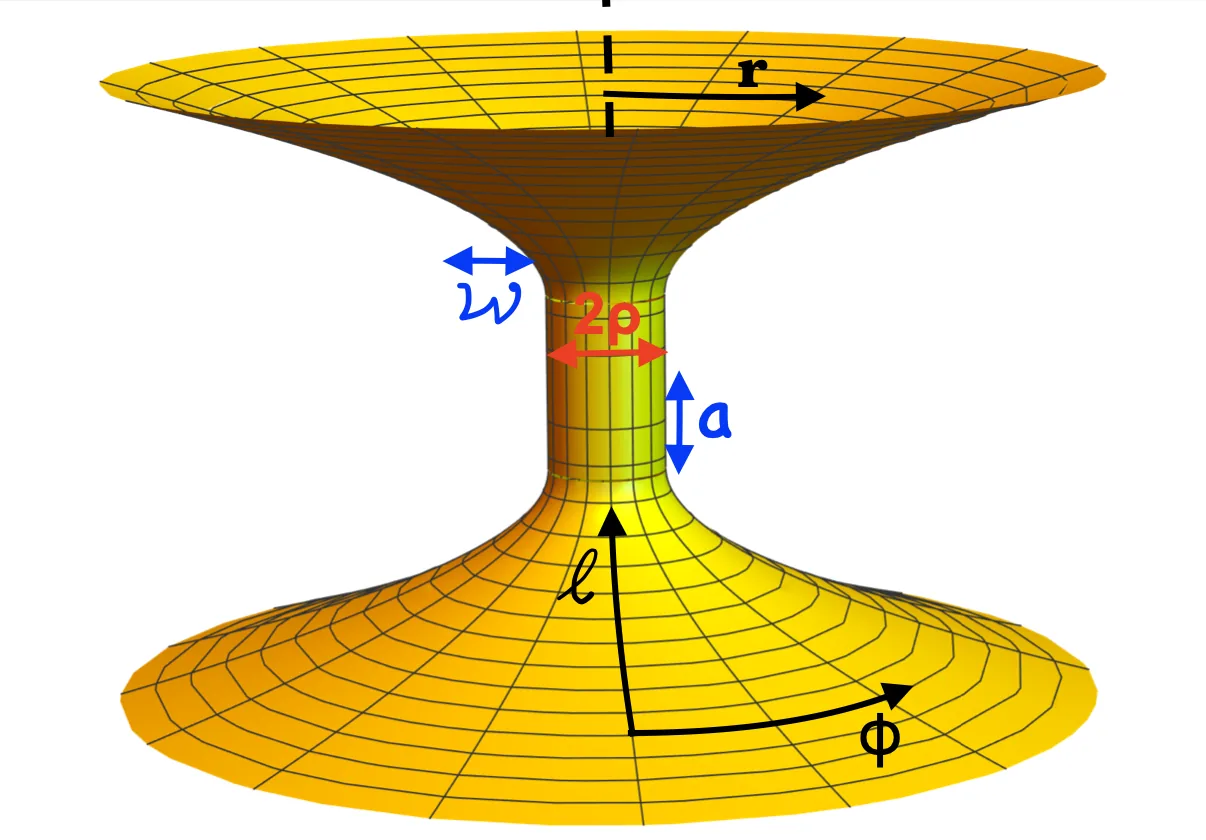
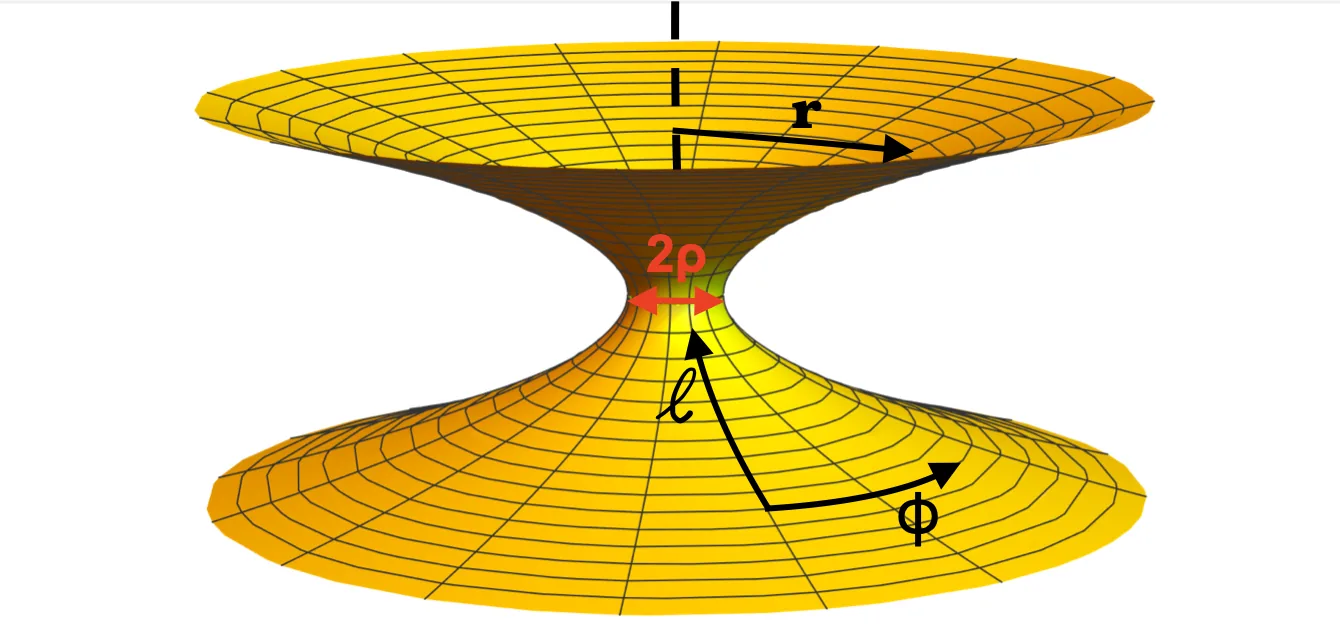
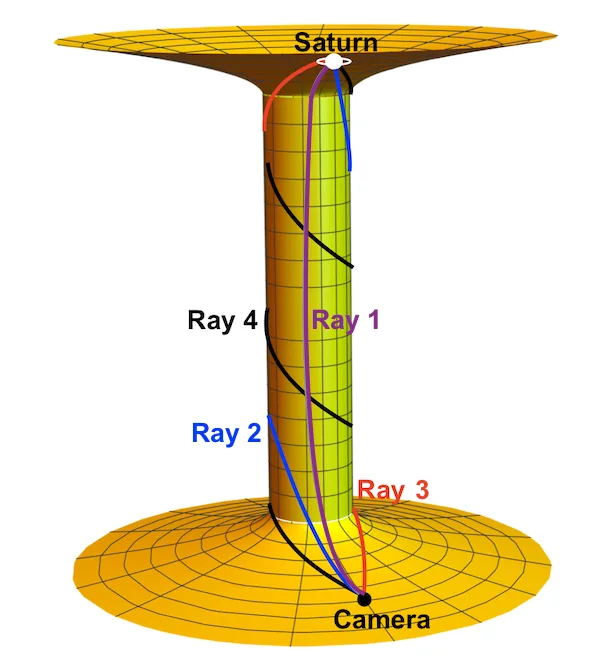
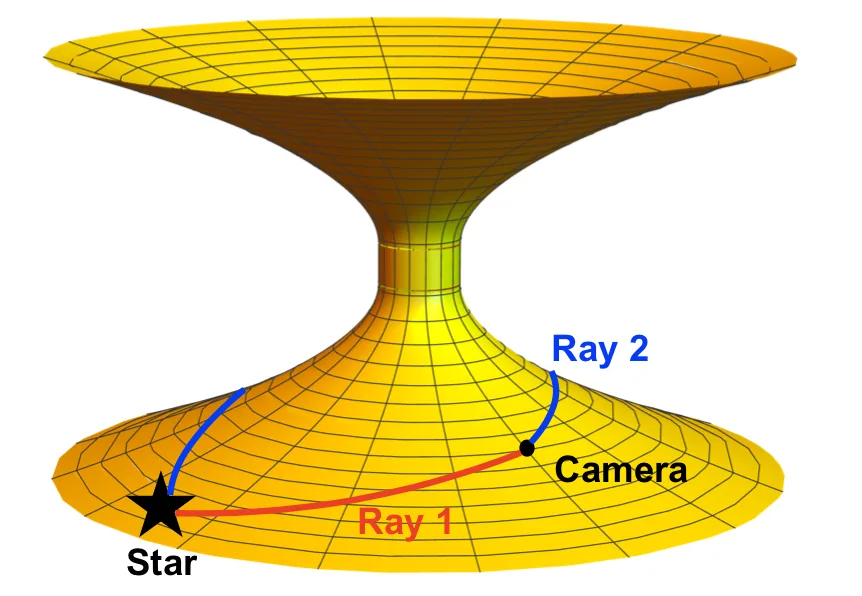
Three wormholes of increasing length, and what a camera near each mouth sees. Longer tunnels give more, smaller images. Chapter 6. Saturn image: DNEG.Small vs large lensing width: the wider wormhole bends more light and shows extra images. Chapter 6. Saturn image: DNEG.The three-parameter wormhole designed for Interstellar: throat radius, length and lensing width. Chapter 5.The Ellis wormhole, the simplest wormhole, with a single parameter: its throat radius. Chapter 5.Four light rays circling the wormhole's throat different numbers of times, each one producing a separate image. Chapter 6.Two light paths around the wormhole's exterior reaching the same star: why lensing makes multiple images. Chapter 6.
Milky Way images are derived from the ESO panorama, credit ESO/S. Brunier
(eso0932a).